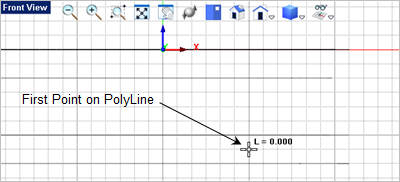
In this step we will create the two center bosses by revolving a profile to create a mesh solid, mirror it to create the second boss and then add both bosses to the body. 1.From the Front View, 2.From the Curve Modeling tab, 3.Pick the grid point shown below for the first point on in the polyline.
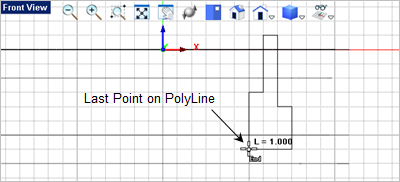
4.Then pick the remaining 9 grid points to complete the closed polyline. The last grid point is the same as the first grid point. This forms a closed polyline.
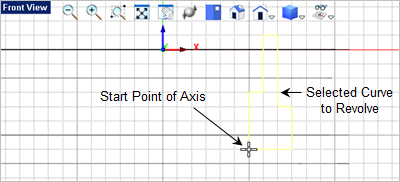
5.Now select the polyline, and then go to the Mesh Modeling tab 6.The command prompt
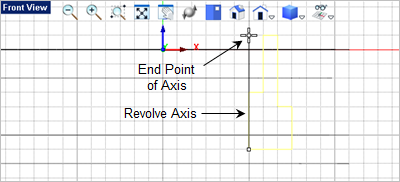
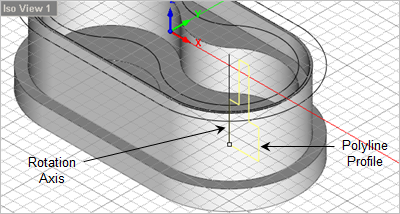
7.Now pick the second point on the axis of rotation as shown.
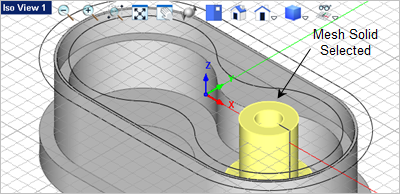
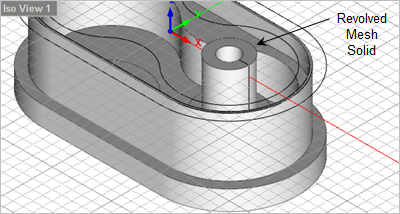
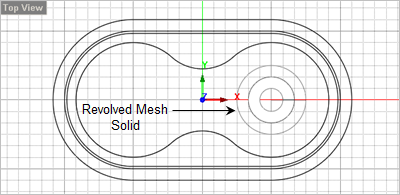
8.The revolved mesh solid is created and can be best viewed from Iso View 1
9.Now go to the Front View
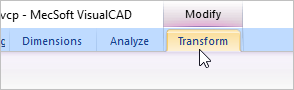
10.With the boss mesh solid selected you will see the Modify / Transform tab
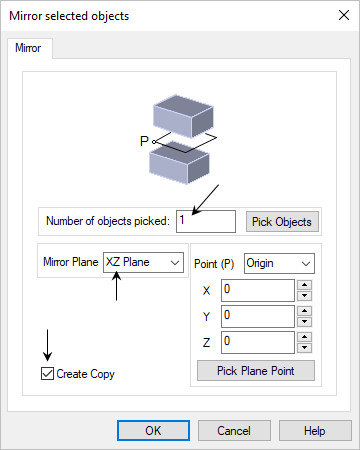
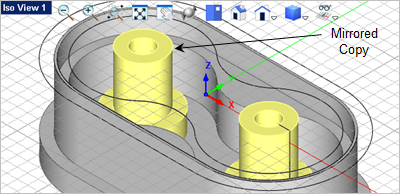
11.From the Transform tab, select the Mirror 12.In this dialog, set the Mirror Plane to YZ Plane, check the box next to Create Copy, verify that the Number of objects picked value is 1 and then pick OK.
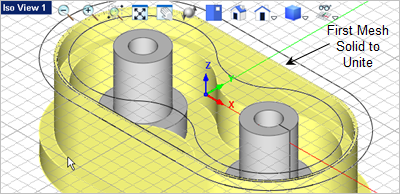
13.Now lets unite the two bosses with the body. From the Mesh Modeling tab,
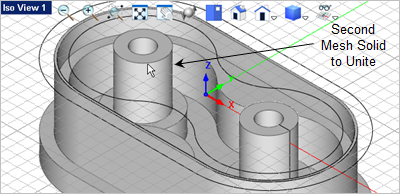
14.Now select the second solid to unite (i.,e. the one of the two bosses we just created.)
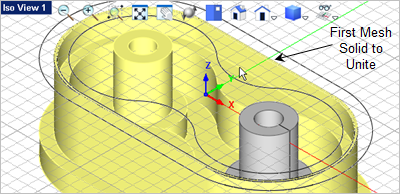
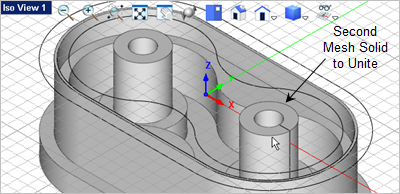
15.Now press <Enter> to repeat the Unite Mesh
|
 appear on the right end of the