| Extrude the Lower Pocket |
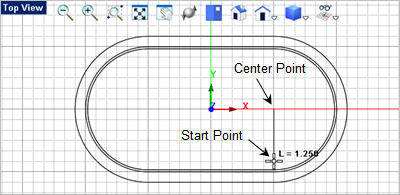
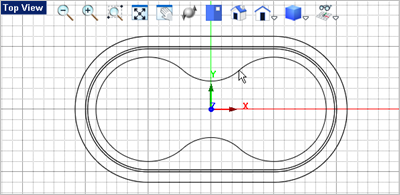
In this step we will create the lower pocket mesh solid and subtract it from the body. 1.We will start in the Top View 2.Now we will create two partial arcs, each 270 degrees. From the Curve Modeling tab 3.Select the center point first and then select the start point. Both are shown below.
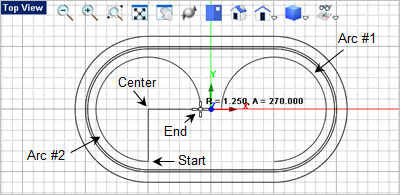
4.Now for the end point of the arc, drag the cursor counter clockwise until the arc preview is at 270 degrees as shown below.
5.Now press the <Enter> key to repeat the command. This time select the center, start and end points shown below.
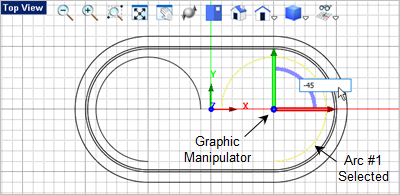
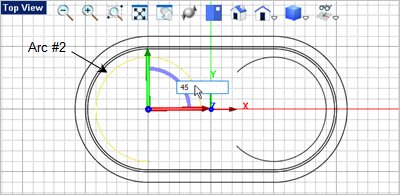
6.Now we will rotate each arc 45 degrees to position them properly. Toggle the Graphic Manipulator on 7.This time we will use the Graphic Manipulator's rotate feature. Select the blue Z Axis arc, enter -45
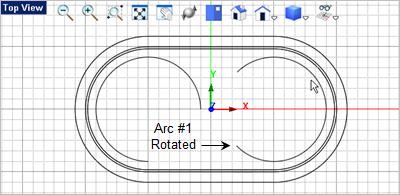
8.Now select the second arc, pick the Z axis arc, enter 45 and press <Enter>.
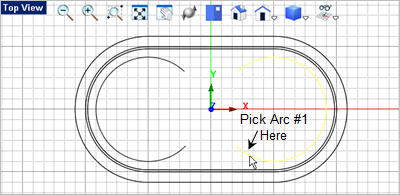
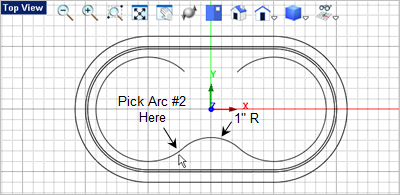
9.To complete the second pocket profile we will fillet the two arcs. From the Curve Modeling tab 10.Enter 1.0 for the fillet radius and press <Enter>. 11.Now pick the first arc near the end shown.
12.Press <Enter> to repeat the Fillet 13.Select the two arcs near their ends to create the second fillet as shown.
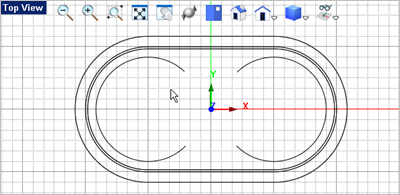
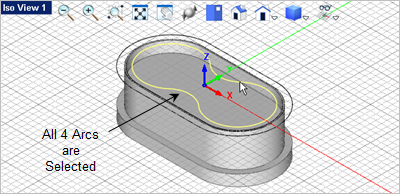
14.Now select the four arcs. You can press the <Ctrl> key to select multiple entities.
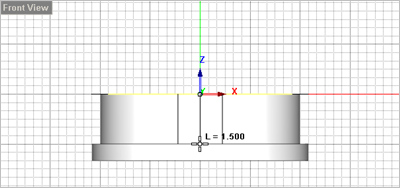
15. Now from the Curve Modeling tab 16.With the curve still selected go the Mesh Modeling tab 17.Drag the cursor down to the Front View
18.Now once again from the Mesh Modeling tab
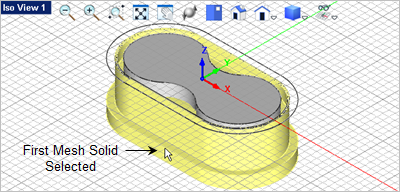
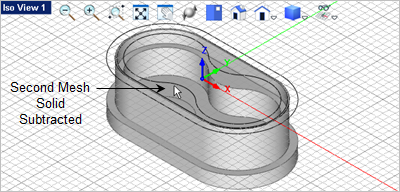
19.Now for the second solid pick the second pocket mesh solid and it will be subtracted from the body as shown.
|