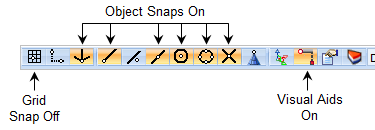
In this step you will learn how to draw with the use of the Visual Aids mode. With Visual Aids enabled, construction lines automatically appear as references geometry. This allows for easier visual placement of new geometry. Let's see how it works. 1.Curve creation using Visual Aids can be enabled by selecting the Visual Aids 2.For now, enable the Origin Point Snap 3.Also disable the Grid Snap
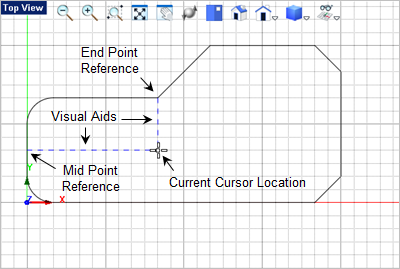
4.Now from the Curve Modeling 5.For the circle center point move the cursor near geometry in your drawing. You will see Visual Aids appear (i.e., reference lines).
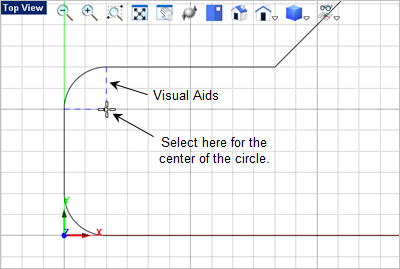
6.We want to locate the center of circle at the center of the fillet located in the upper left corner of the drawing. Move the cursor to this area and you will see two Visual Aids appear when the end points of the fillet are recognized.
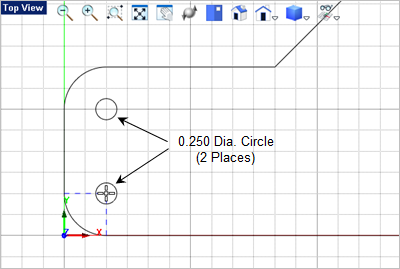
7.For the circle diameter enter 0.25 8.Press <Enter> to repeat the command and draw a circle at the center of the lower left fillet.
|