If you have fixtures holding your stock onto your CNC table, you can avoid them automatically during all 2½ Axis toolpath operations. To implement this, follow the outlined steps below:
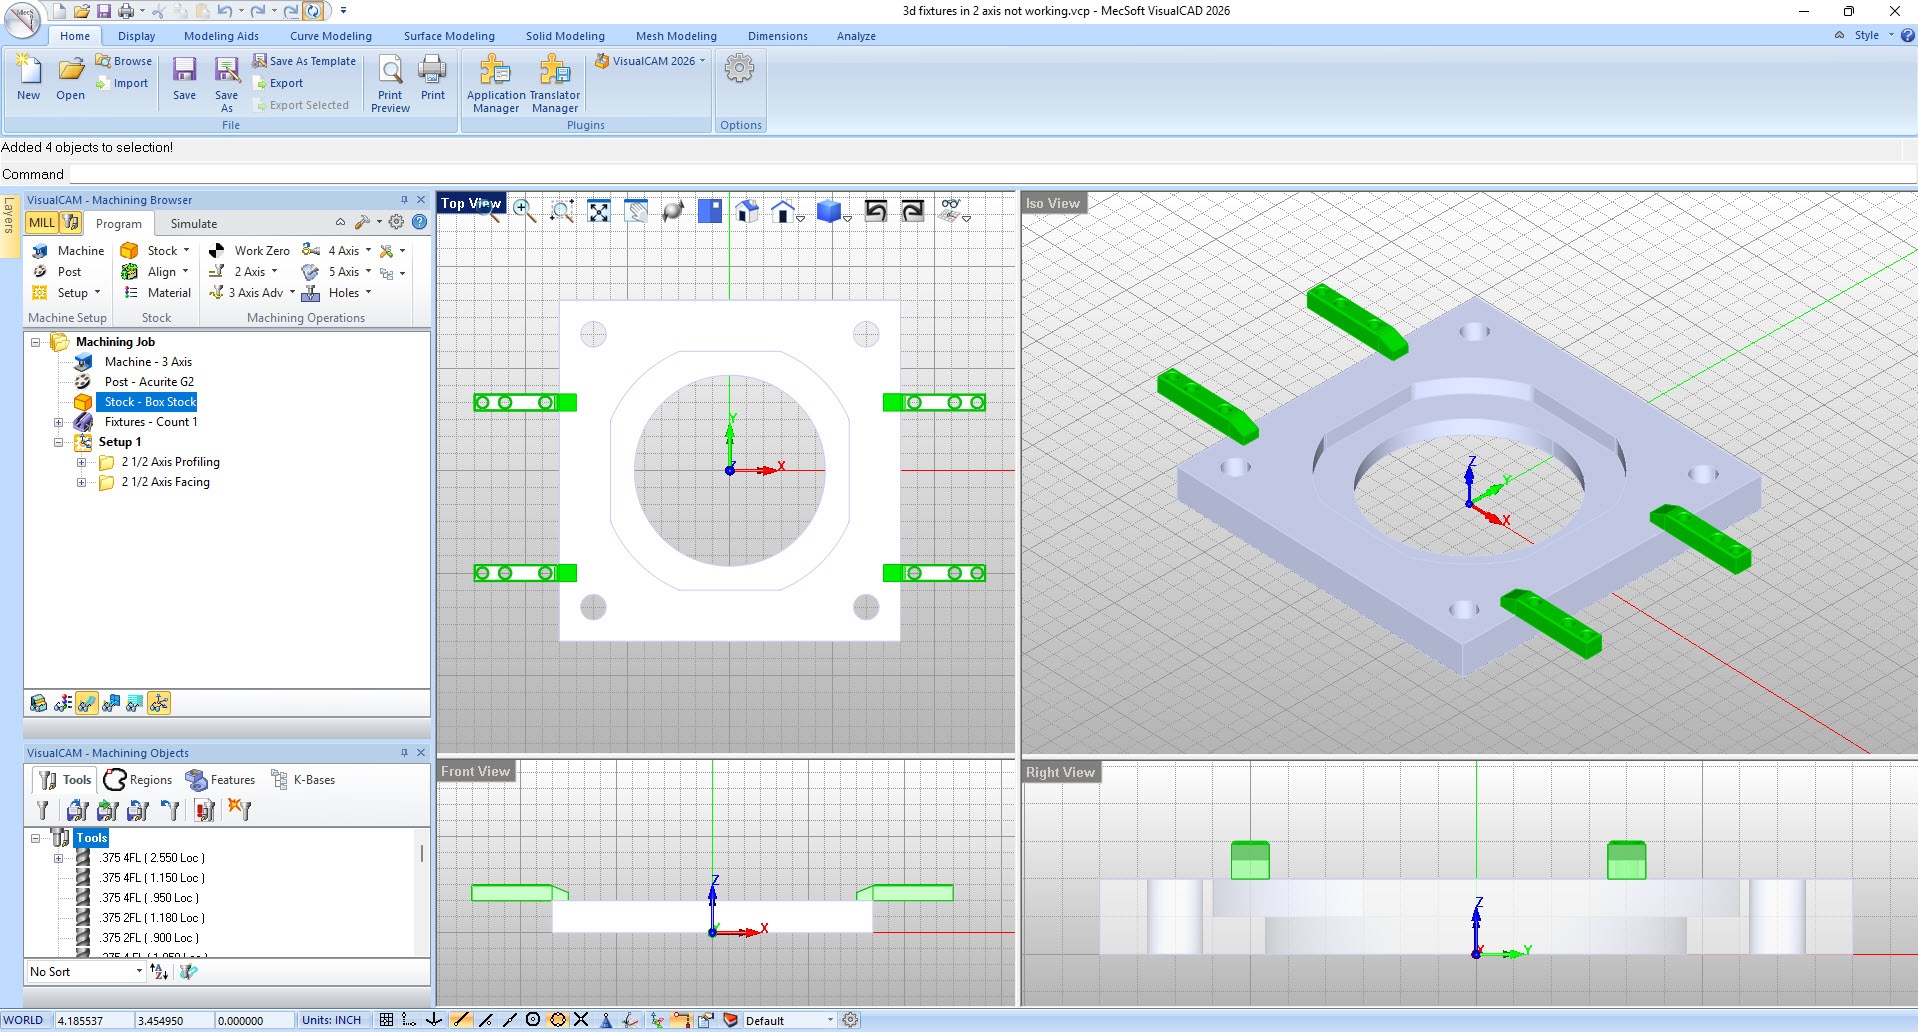
1.In the CAD system (Rhino or VisualCAD) create a 3D solid model of each fixture and position them in the locations that they will appear in the actual setup on your CNC table.
|
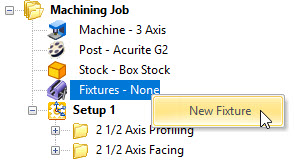
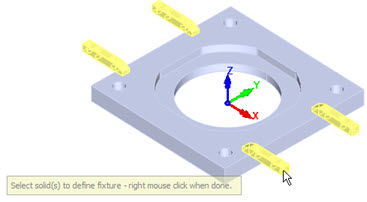
2.If you currently do not have any 3D fixtures defined in RhinoCAM or VisualCADCAM, under the Machining Job tree, right-click on the Fixture icon and select New Fixture from the menu. You will be prompted to select the 3D objects representing each fixture. They must be 3D solid (i.e., closed poly-surfaces). Do so and then press enter. This will display the Create Machining Fixture dialog.
|
3.Your selected fixtures will be listed in the Fixture Geometry list.
|
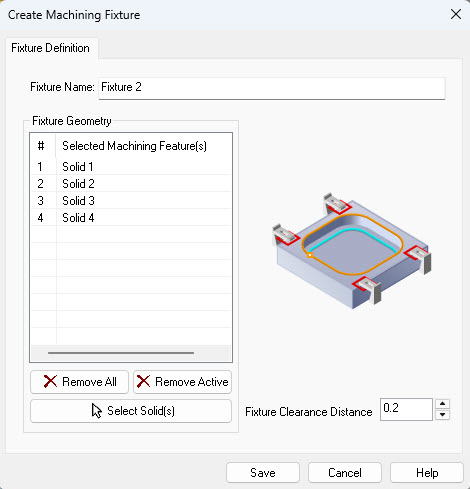
4.You can specify a Fixture Clearance Distance if desired.
5.Pick Save to close the dialog.
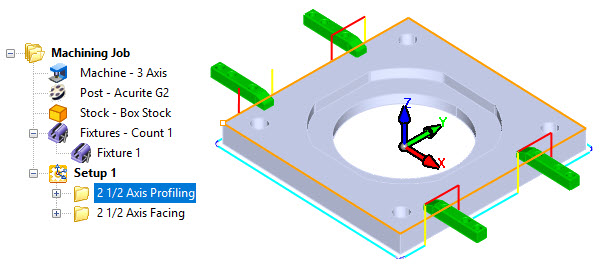
6.Your fixture will appear in the Machining Job tree.
|
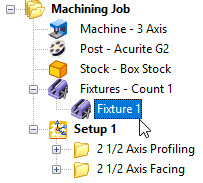
7.Your fixtures are now defined but they are not yet applied to your setup.
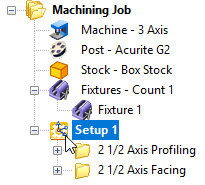
8.Now, double left-click on the Setup icon in the Machining Job tree where you want the fixtures to be applied.
|
9.From the Setup dialog, pick the Select Fixtures for Setup tab.
|

10.Check the box next to the fixture you to apply to the active setup and pick Save.
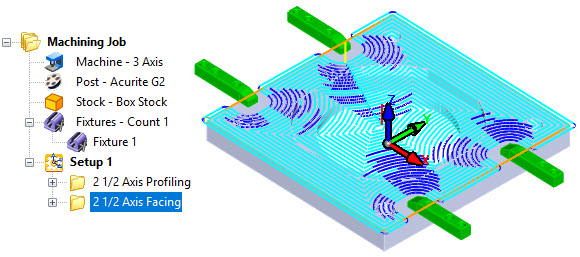
11.Now, for this setup only, toolpaths generated will automatically avoid the fixtures by the distance specified in Step 4 above. If you have existing operations make sure you regenerate them.
|